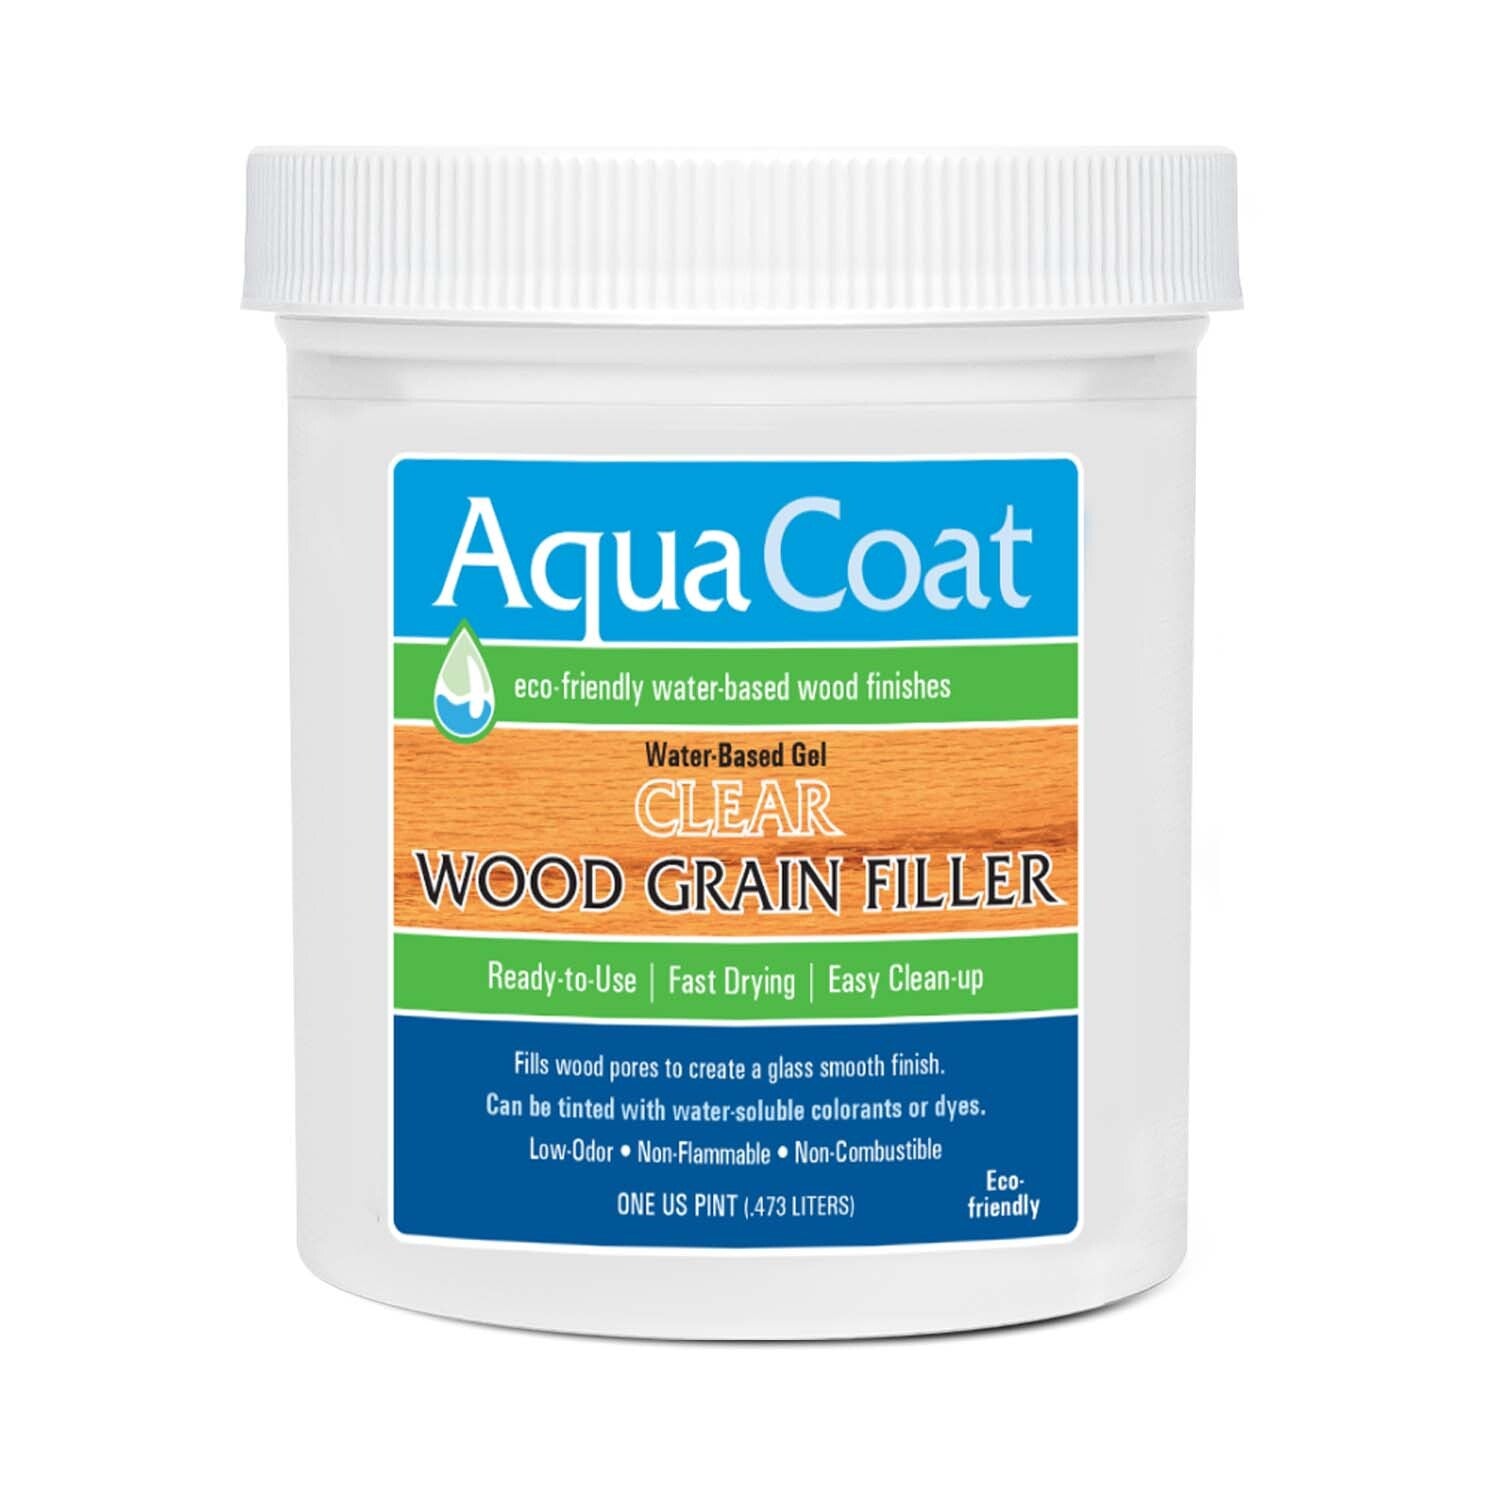


Aqua Coat is your home for A Complete Water-based, Eco-Friendly Wood Finishing System
All of our finishes are non-flammable, non-combustible, low odor, easy to apply and clean up, and a breeze to master. You will wonder why you haven't made the switch to water based sooner.
NEW AQUA COAT PRODUCT
INSTRUMENT LACQUER
A premium grade, self-sealing, acrylic/urethane blend that provides superior water, heat, scratch, mar resistance and excellent protection for a professional finish.
Learn more
NEW PRODUCT


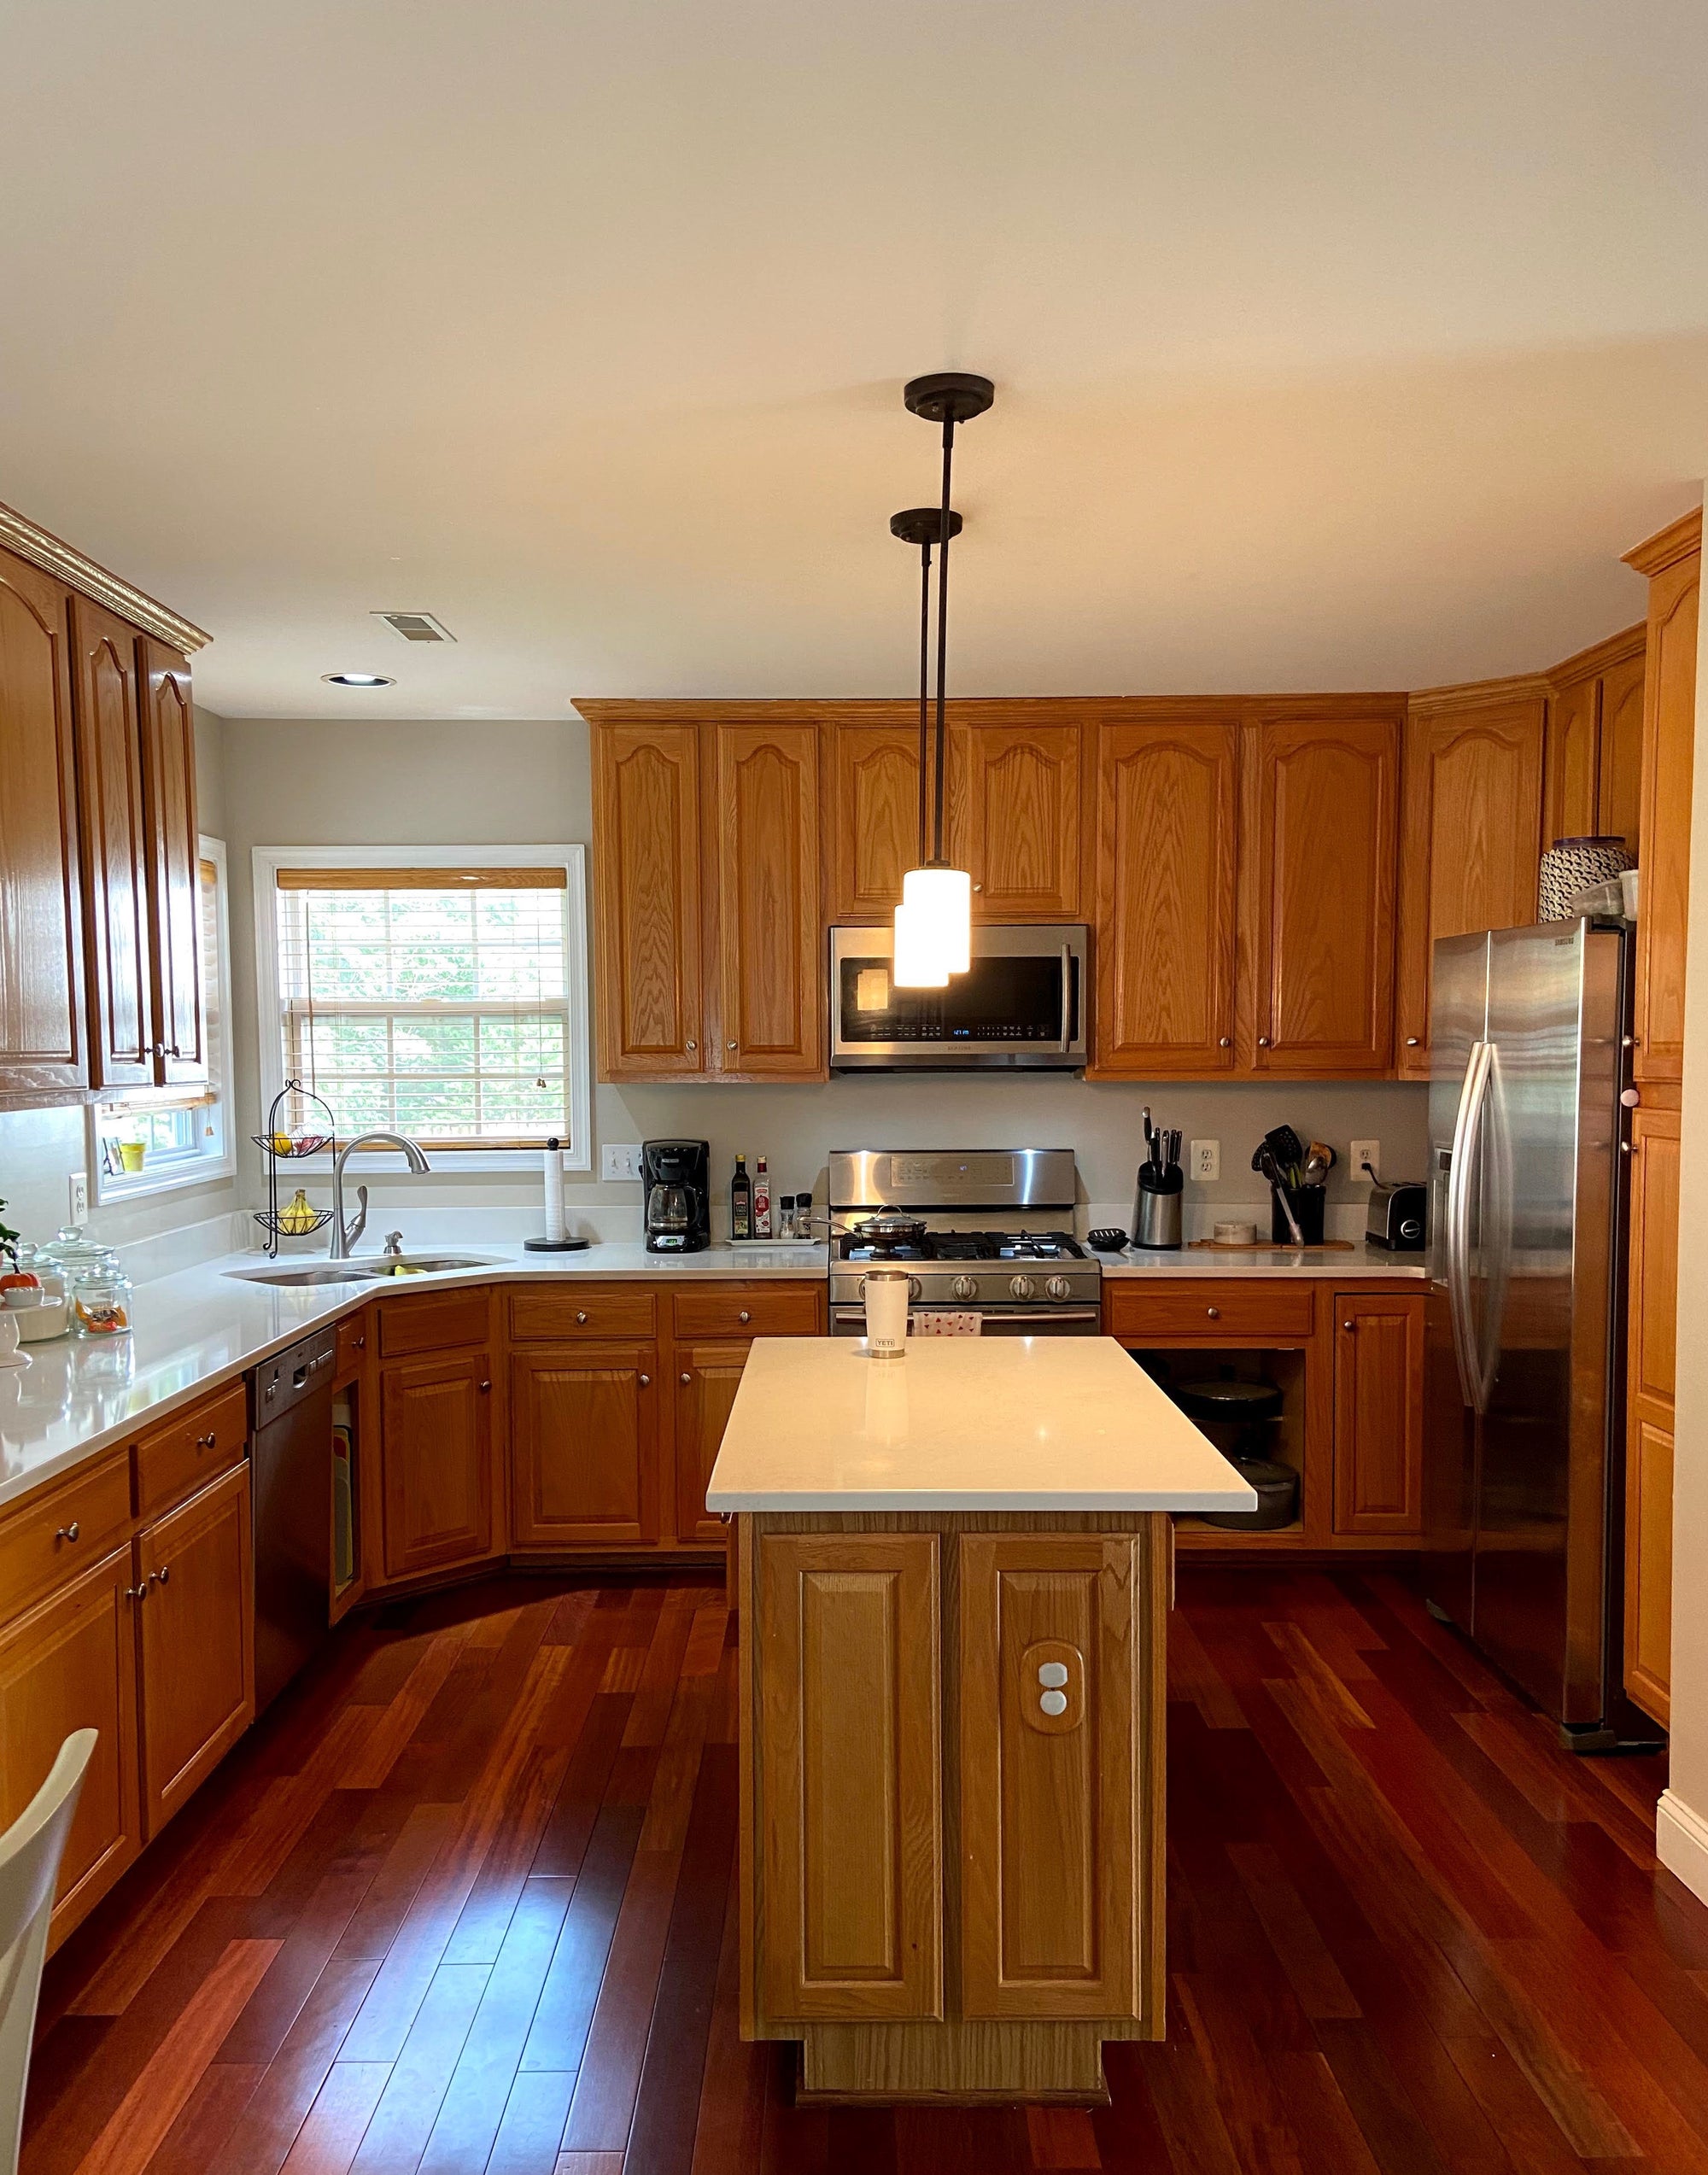
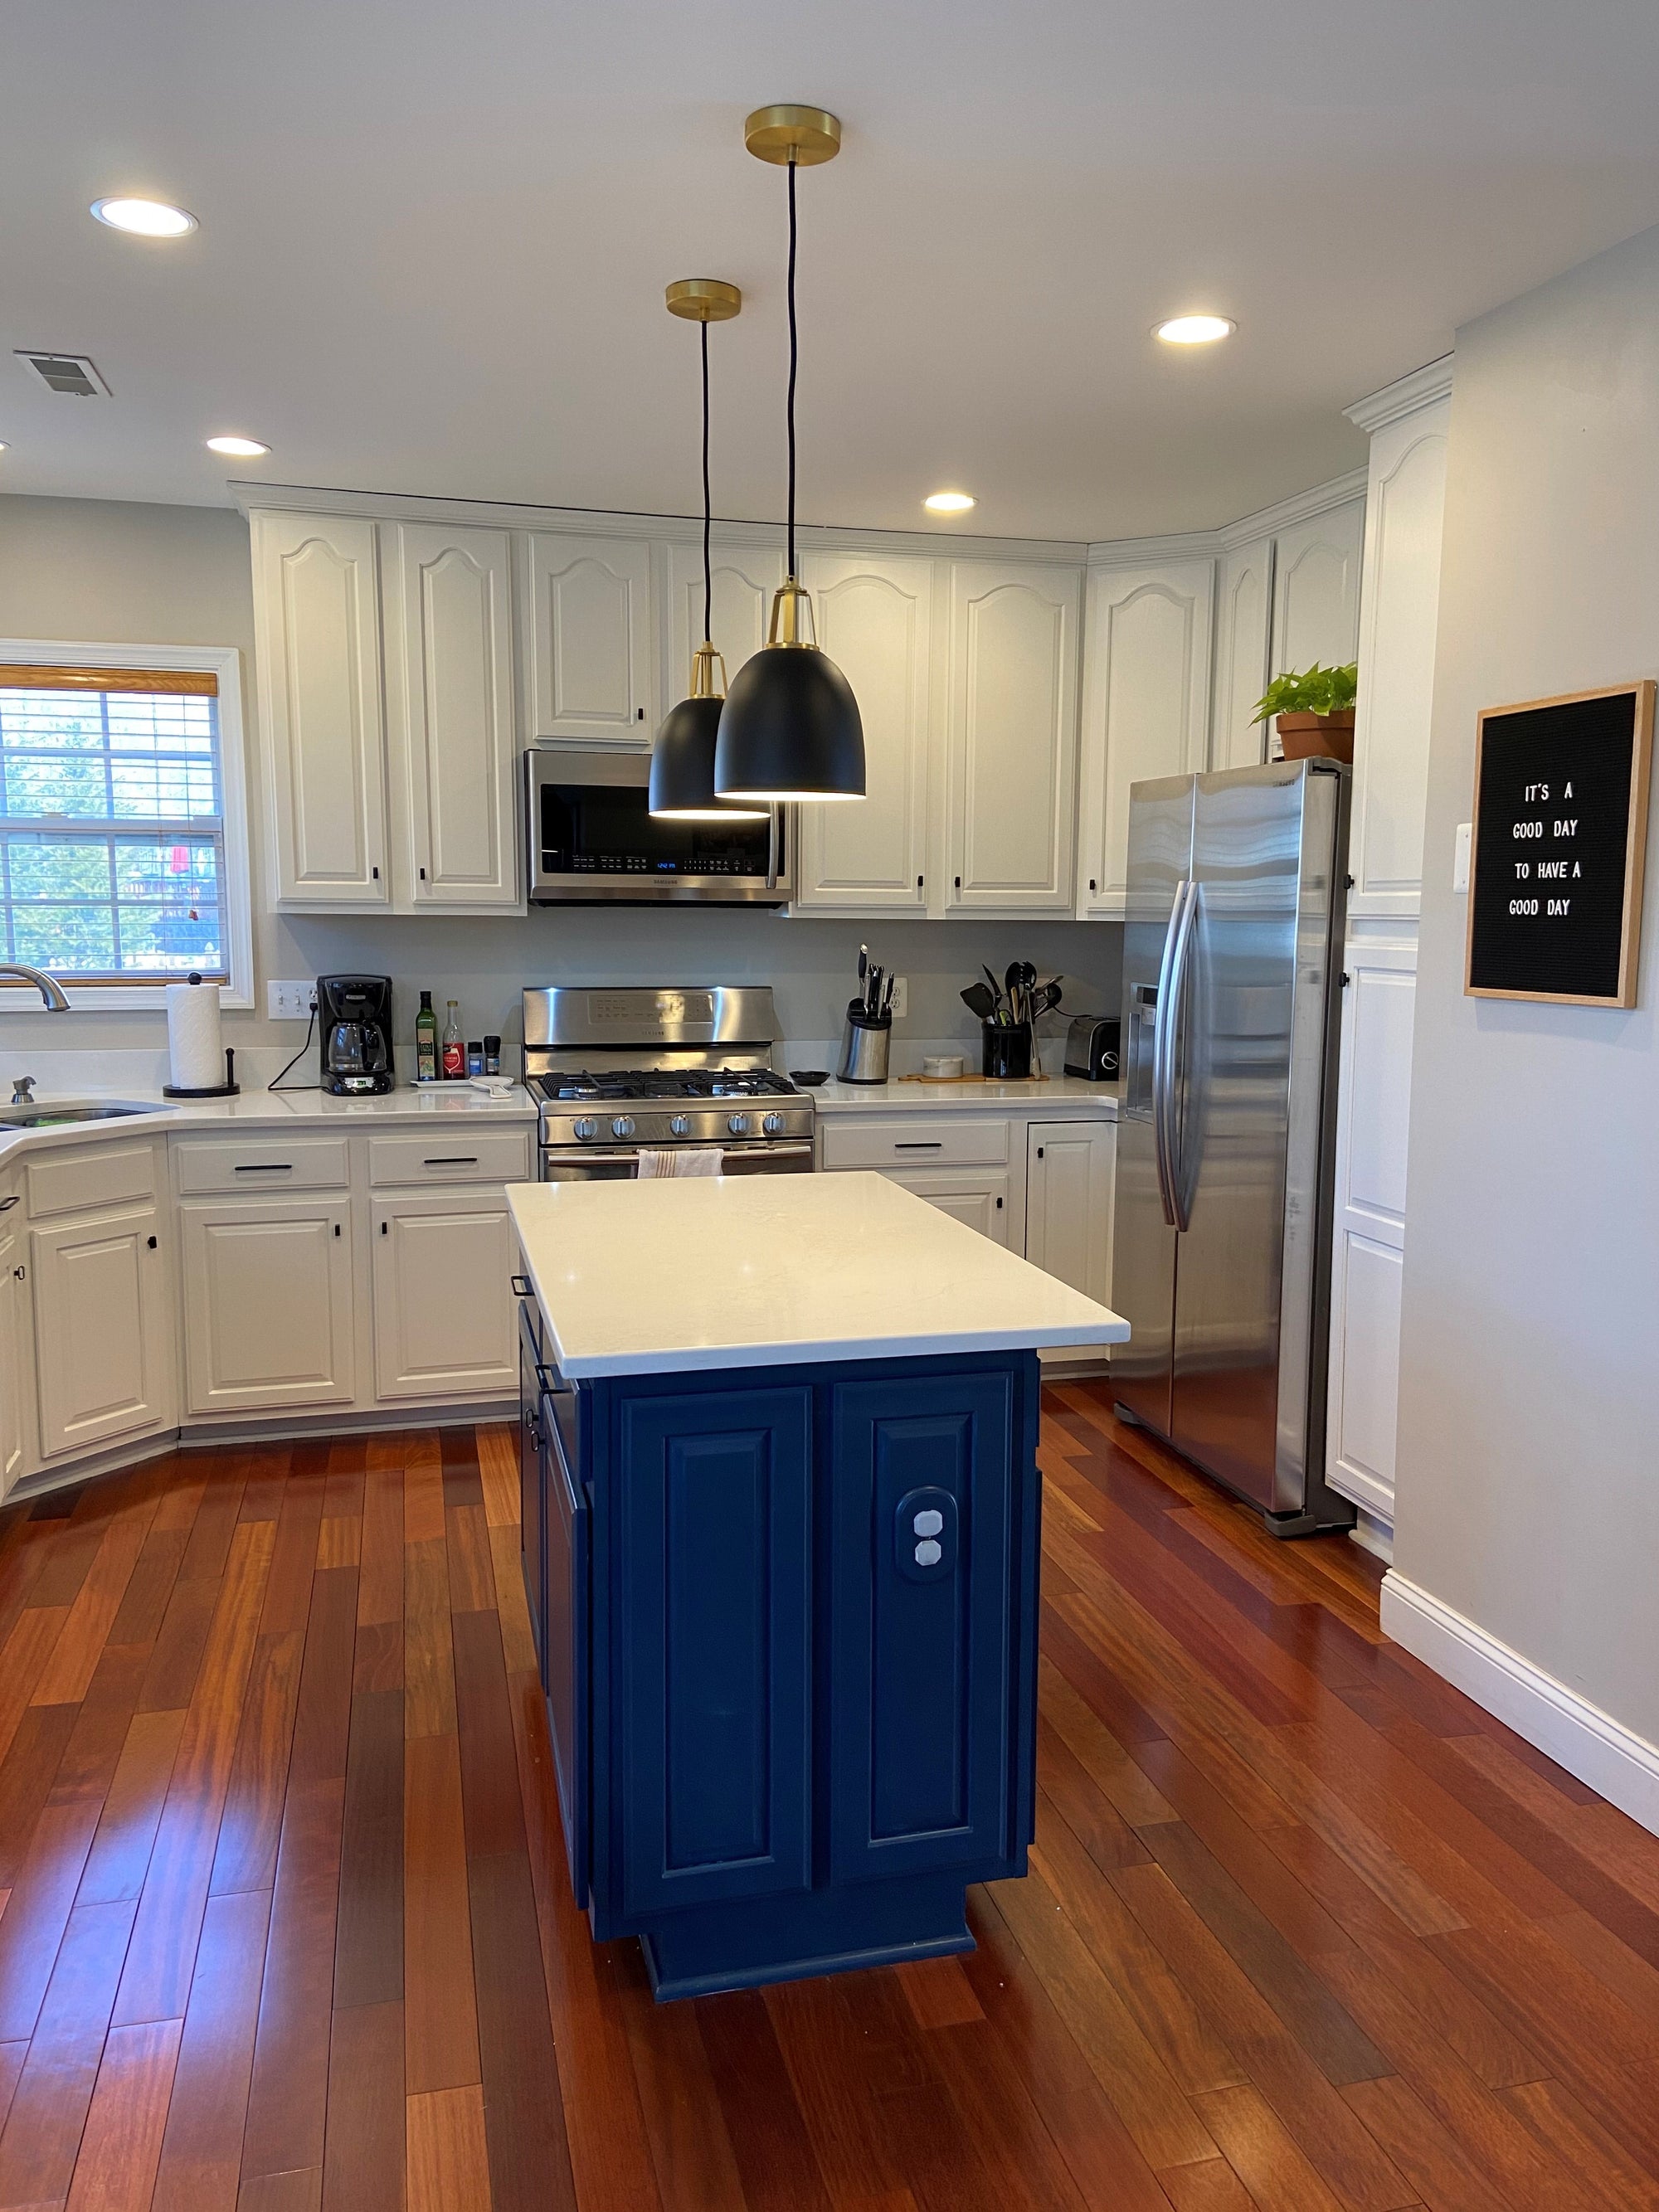
Before and After
Painting cabinets is quite the project, make it easy by using our wood and grain filler first like these before and after shots.
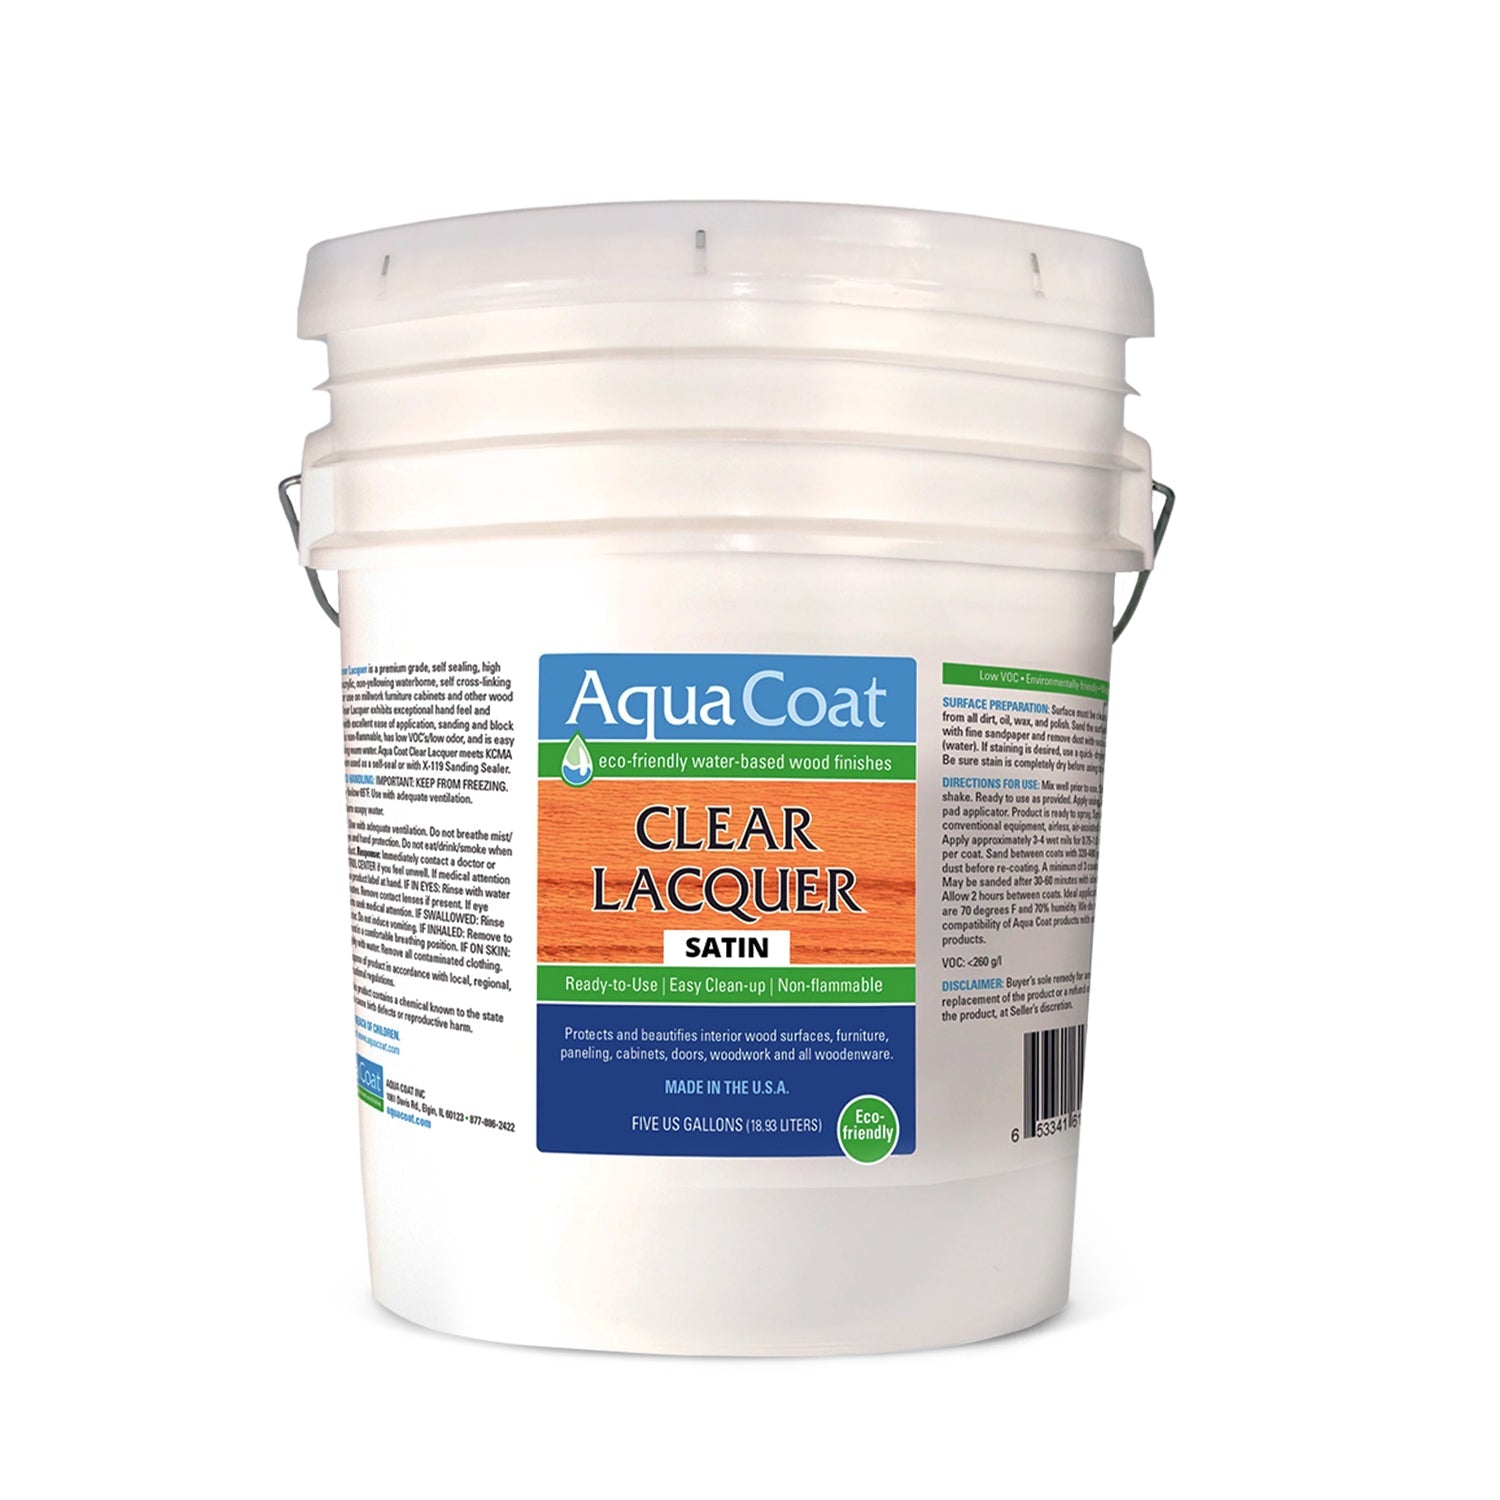
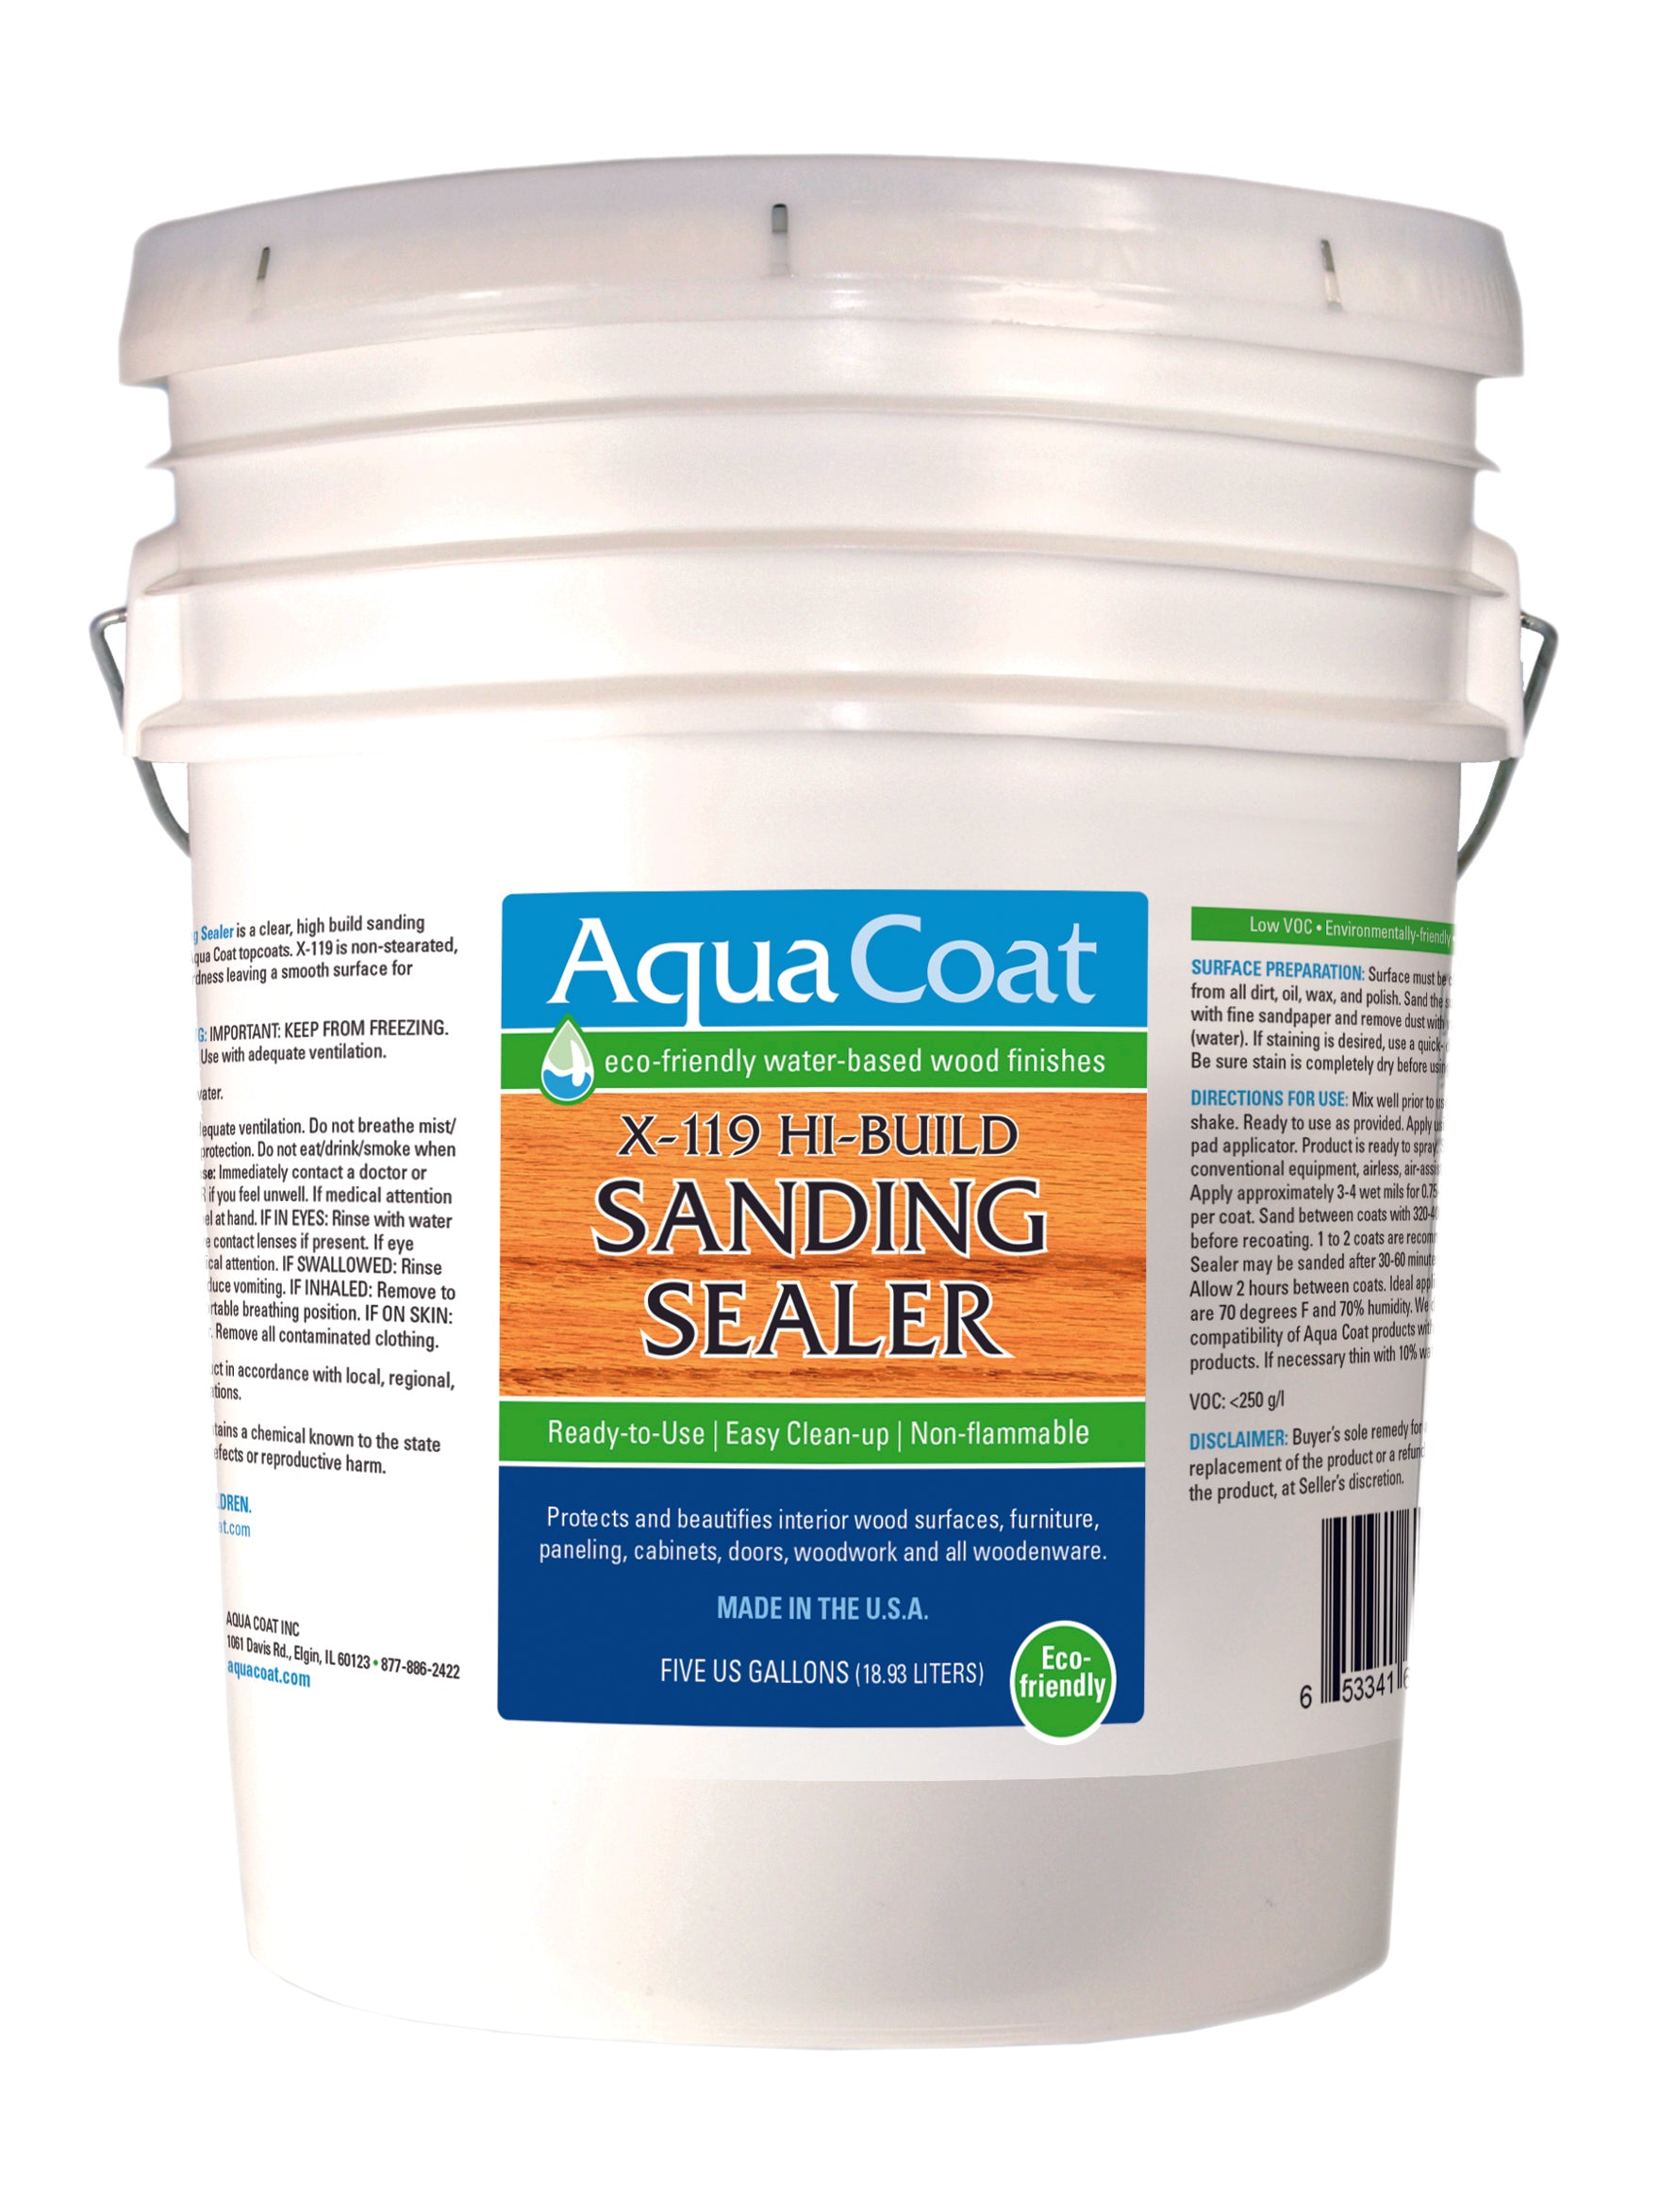
Water Based Top Coats
View all


Latest News
View all

