Musical Instrument Makers Love Aqua Coat - Here's Why
From the Guild of American Luthiers, (click here for their website) this article by Bob Gleason:
Forty years ago I started my grain-filler life with solvent-based fillers mail-ordered from the Martin Guitar Co. We tinted the fillers darker than the wood we were filling, and hoped for a color match that looked good. From there I’ve gone through other types of solvent-based products, epoxy, epoxy with micro-balloon fillers, superglue, any waterborne filler I could find, shellac, every product that Stew-Mac or LMI ever sold, and others.
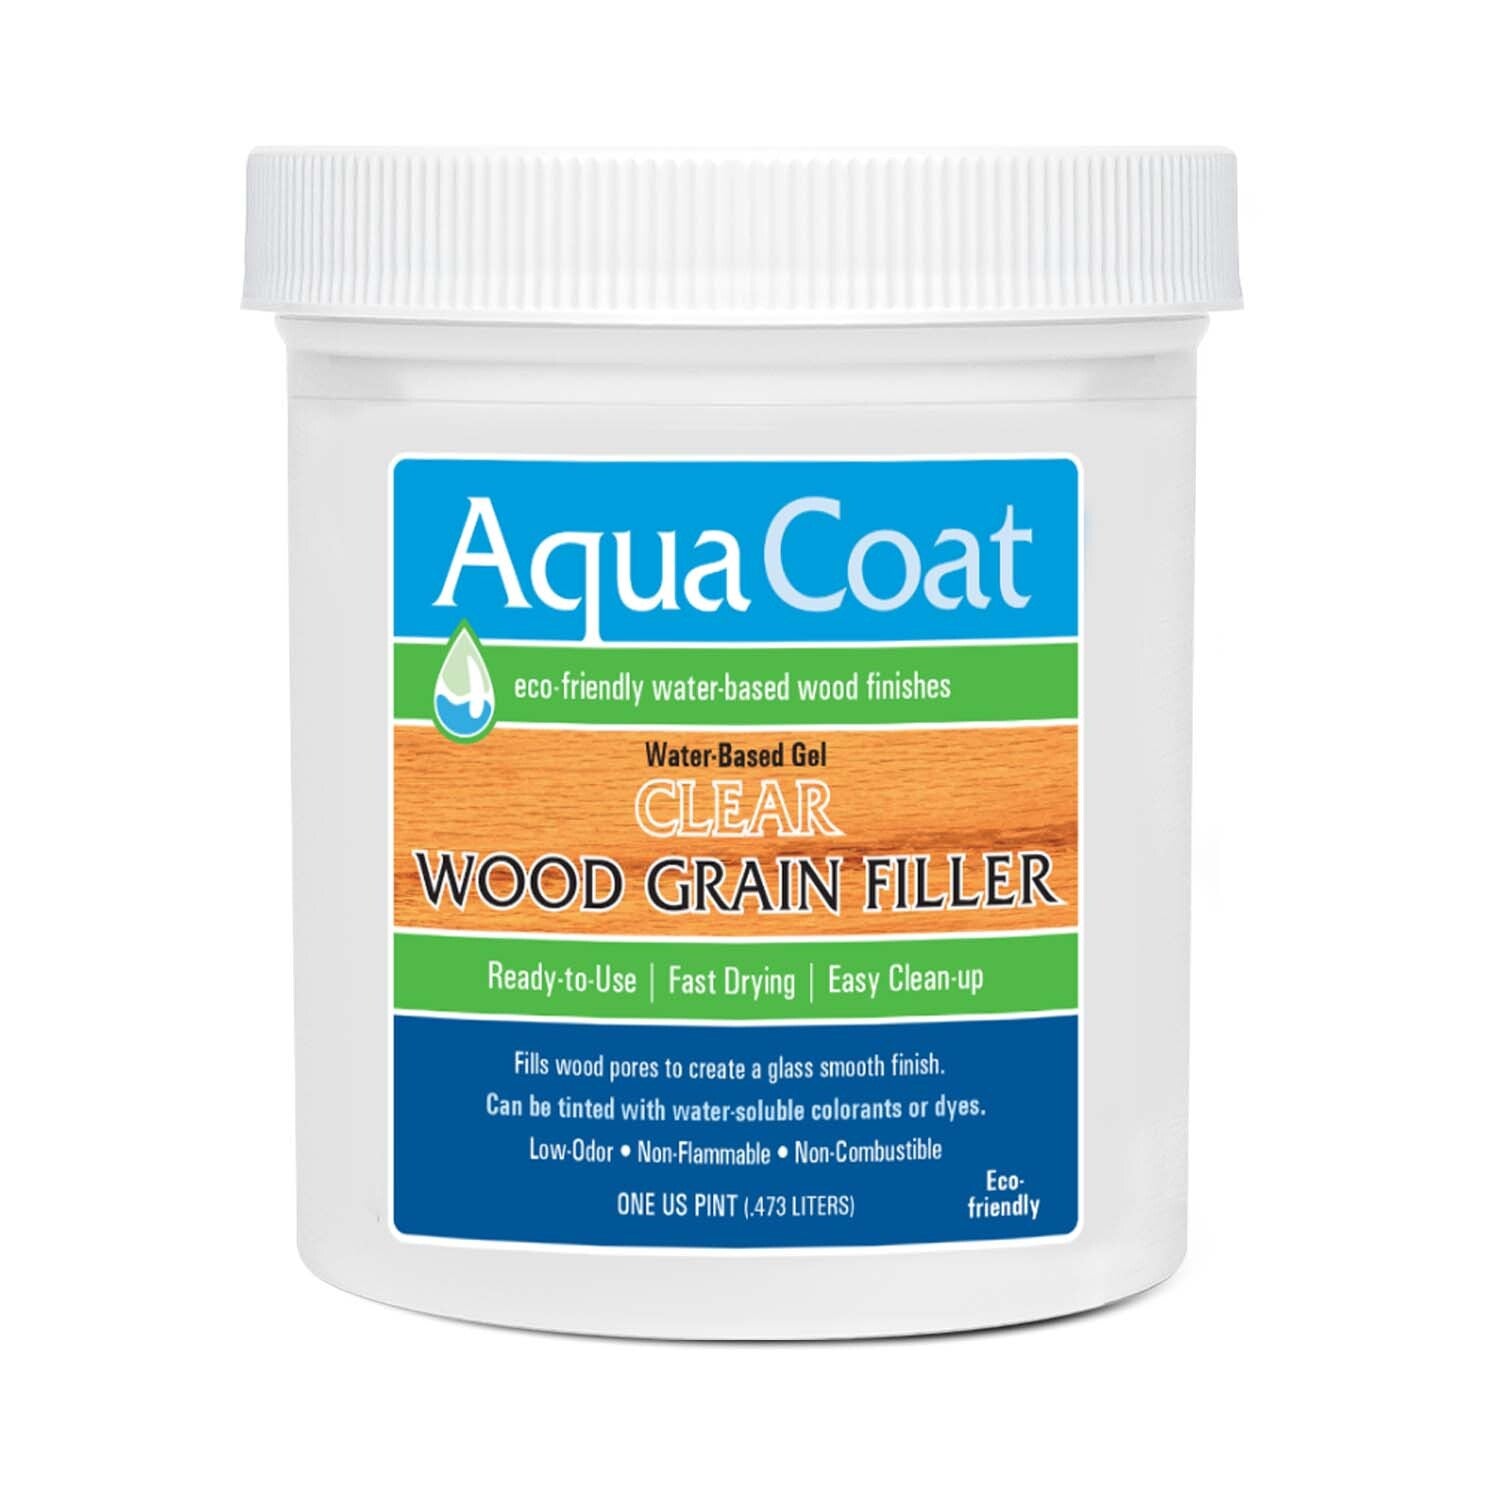
I’ve been using Aqua Coat Clear Wood Grain Filler for several years now. Aqua Coat is far easier to use that any product I’ve ever tried, and it works well for me. Aqua Coat produces a line of waterborne finishes, as well as fillers. Being a kind of old-fashioned type, I still use solvent-based lacquers and have not tried any of their waterborne finishes. I’ve had some unopened containers of their grain filler for about two years and it appears unchanged. To insure that I had a current formulation of this product, the manufacturer, Aqua Coat, and LMI generously provided new samples for this review.
On the plus side, it is very clear, easy to apply, easy to sand, odorless, keeps for a long time, and dries fast. Clear fillers make it unnecessary to match wood colors. You can still tint Aqua Coat to achieve special effects if desired. Another nice feature is that you can call Brian, the owner of Aqua Coat, and he actually answers the phone himself! He loves to talk to users about his products.
On the down side, it is not a magic product that will fill every pore every time . There is no product that I know of that does that. Wish there were!
Unless you use a very large amount of filler, the pint size container is probably the most convenient size for the luthier to buy. I have not kept track of exactly how many guitars that would do, but I would guess at least ten or twelve instruments. It also comes in quarts and larger commercial sizes.
My experience with this filler only applies to using Sherwin Williams or Cardinal nitrocellulose lacquer finishes. I would expect it to work well with other finishes, but you would need to confirm that with your own experiments.
The application process that I use differs from factory recommendations. I never apply filler to bare wood, even though the manufacturer indicates it can be used that way. I also apply the filler on top of a solvent-based wash coat, which again is not in the factory guidelines. The theory of filling grain is to have the filler only in the pores. I don’t apply filler to bare wood because it would be very difficult to sand every bit of the filler off the entire top surface and leave it only in the pores. Any filler left on the surface will stop the finish from wetting the wood evenly, possibly causing a blotchy finish.
I start with a wash coat of lacquer on the bare wood. Once the lacquer dries, I apply the filler. I scientifically put a blob of it on the wood with my little 6˝ stainless ruler as a spatula. I always start with the back of an instrument. It takes me about ten minutes to do a fill coat on an entire ukulele, and maybe fifteen minutes on a guitar. Normally I would be doing the finish on an assembled instrument, but the Photo above shows how I might start on a guitar back.
I use a cotton rag to apply the filler to the whole back in the fashion of doing French polish. When I have spread the filler on the back, I move on and do one of the sides. By the time I spread the filler on a side, the back will have begun to dry. I then return to the back and continue rubbing the filler in with circular motions. The filler soon starts to dry and I simply continue rubbing until there is very little left on the surface. I don’t try to get it really clean, but I also don’t want any visible globs of filler standing proud of the surface. Then I go back to the side I started, treat it the same way as I did the back, and move on to the remaining side and the (koa) top. I can usually do the neck while the top dries. It is important to clean out tuner holes, nut slots, soundhole edges, or any features such as carvings while the Aqua Coat is still soft, or you’ll have extra work to do later.
Normally I do three coats of filler on an instrument. It is so easy to do that I am not bothered by having to do multiple coats. Although this filler dries very fast, I don’t hurry the process. I have pushed it and gone on to do fill and finish coats the same day with no problems, but normally I fill one day and start the finish the next day. There is no sanding between fill coats. I sand the final coat carefully with 220 the day I am going to start the finish.
One other use for Aqua Coat is in place of some lacquer drop fills. I occasionally find it useful for drop fills around binding seams. It dries faster than lacquer and is easier to sand. I apply it to the puka (useful Hawaiian word for holes) and leave it a little proud of the surface. You do have to make sure that you don’t leave any on the flat surface or it will be visible when you go on with the finish.
I have not made a final decision on whether to begin the finish coats with a coat of vinyl sealer, or just start right out with lacquer. Although vinyl sealer is recommended, I don’t find much difference between the two choices. I do it both ways, for no particular reason.
I can already hear the readers asking, “So, how many coats of lacquer does it take you to finish an instrument?” That’s a very difficult question to answer, given the difference between what various luthiers find acceptable. The number of coats it takes to do a finish is almost a mystical concept in lutherie. Given that most of us would like to have a thin finish, the number of coats a builder puts on is probably one of the most lied about answers in lutherie. I can’t tell you how many times I’ve heard things like “I mist my wood from 40´ away with an airbrush at 5 lbs. pressure because I like a really thin finish!” Using Aqua Coat, many builders would probably find themselves able to do a decent finish in 8–10 coats of lacquer. I like a no-pore finish and I usually end up in the 12–14 coat range. When I think I am done at 10–12 coats, there are always some little spots that need drop fills, and then I end up spraying a coat to blend them in. I spray about as much lacquer with this filler as with other fillers I’ve tried, but the whole process is made much easier with Aqua-Coat.


Leave a comment